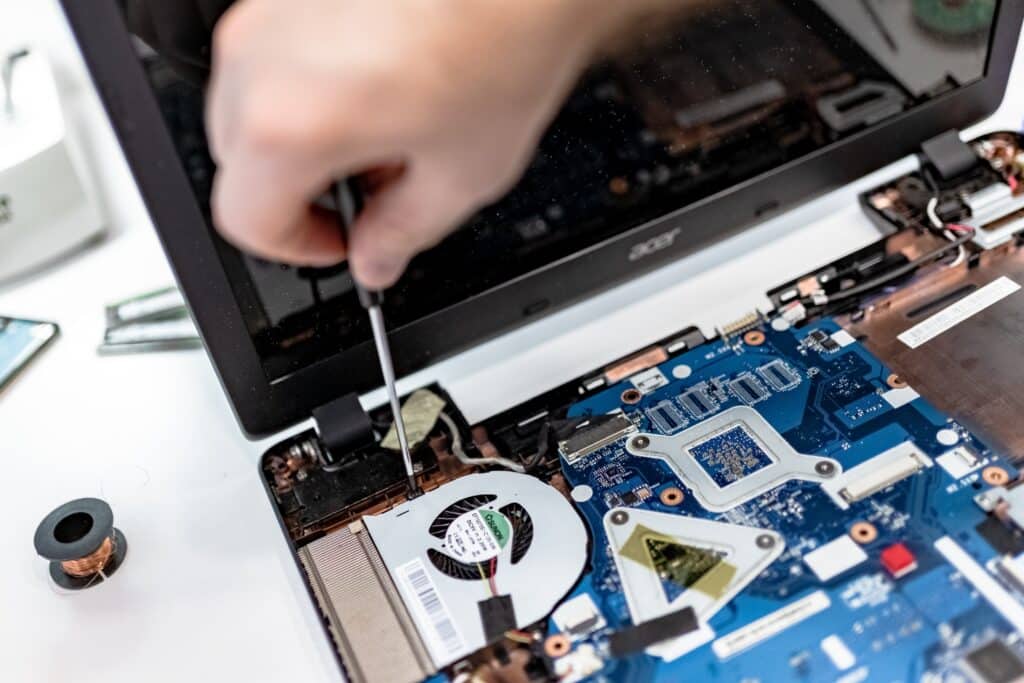
The power jack.
Welcome to our guide on laptop power jack repair. The power jack, also known as the DC power jack, is a crucial component responsible for supplying power to your laptop. Over time, power jacks can develop issues that affect the charging and functionality of your device. In this article, we will explore common questions related to power jacks in laptops, including how to fix them, whether they can be repaired, their significance, and how to test their functionality. Whether you’re facing charging problems or suspect a faulty power jack, this guide will provide you with the knowledge and steps needed to address the issue effectively.
Can a Laptop Power Jack be Repaired?
Repairing a power jack is often possible, which can save you from the expense of replacing the entire motherboard. This repair requires precision and technical expertise. However, it’s important to note that not all power jacks are easily repairable. Moreover, the ease of repair depends on the specific model and the extent of the damage. Therefore, it is highly recommended that a professional technician be consulted for a proper assessment and repair.
The power jack serves as the crucial connection point between your laptop and its charger, enabling the seamless transfer of electrical power. Consequently, it ensures that the battery receives the necessary charge, thereby allowing the laptop to operate flawlessly while connected to a power source. Without a functional power jack, your laptop may fail to charge or power on, ultimately severely affecting its overall usability and functionality.

Fixing a power jack requires careful attention to detail. Here are the general steps involved in the repair process:
- Gather the necessary tools for the repair, such as a soldering iron, desoldering wick or pump, solder, and a replacement power jack.
- Carefully disassemble the laptop to gain access to the power jack. The disassembly process may vary depending on the laptop model, so consult the manufacturer’s instructions or seek professional guidance.
- Remove the old power jack using the soldering iron and desoldering wick/pump. Take caution to avoid damaging any surrounding components.
- Position the replacement power jack correctly and solder it onto the motherboard, ensuring proper alignment and secure connections.
- Reassemble the laptop by following the disassembly steps in reverse order. Double-check all connections and components for proper reassembly.
How to Test a Power Jack
Testing a power jack is essential to determine its functionality. Here’s a simple method to test a power jack:
- Plug in the charger and ensure it is properly inserted.
- Observe the charging indicator light on your laptop when the charger is connected. If the charging indicator light turns on, it indicates that power is successfully reaching the laptop through the power jack.
- Gently wiggle the charger cable near the power jack while observing the laptop’s response. If the charging indicator flickers or the laptop intermittently loses power, it may indicate a loose or faulty power jack.
The power jack is a vital component of a laptop, and understanding how to fix, test, and diagnose issues related to it can help you restore your laptop’s functionality. While some repairs can be done at home, it’s important to exercise caution and consider seeking professional assistance, especially if you’re not confident in your technical skills. Remember, proper maintenance and timely repairs can extend the lifespan of your laptop and ensure uninterrupted power supply.


